Outdoor living is a big part of life in Perth. Whether it’s summer barbecues, weekend gatherings, or simply relaxing after work, a patio is the perfect way to extend your home into the outdoors. But what if you could save money and build it yourself?
That’s where DIY patios Perth come in. With modern DIY patio kits, it’s easier than ever to design and assemble a stylish, durable patio without paying full professional installation costs.
In this guide, we’ll walk you through 5 easy steps to creating your DIY patio in Perth — from planning and council approvals to tools, installation, and maintenance.
Every great project starts with a plan. Think about how you’ll use your patio and what roof style suits your backyard.
Do you want a dining space, outdoor lounge, or kids’ play area?
How much room do you have available?
Which style fits your home — gable, skillion, dome, or flat roof?
Gable Roof: Tall, open, and great for airflow.
Skillion Roof: Sleek, modern, and perfect for narrow yards.
Flat Roof: Affordable, versatile, and easy to install.
Dome Roof: Curved design for a stylish statement.
By planning carefully, you’ll choose the right DIY patio kit to suit your space and lifestyle.
Most DIY patios Perth require council approval before installation. This ensures your patio meets safety and building codes.
Engineering drawings (supplied with Patio Factory kits).
Site plan with setbacks and boundaries.
Completed council form + application fee.
Approvals usually take 2–4 weeks, depending on your local council.
👉 Pro tip: Patio Factory can help guide you through the paperwork if needed.
Your DIY patio kit will come with pre-cut Colorbond® roofing and BlueScope® steel framework. But you’ll need basic tools.
Cordless drill
Rivet gun
Spirit level
Ladder
Concrete mixer (if needed for posts)
Safety First: Gloves, goggles, and sturdy footwear are essential.
Here’s how most DIY patios Perth are assembled:
Clear debris.
Mark post positions.
Dig holes for footings.
Secure posts in concrete.
Check levels and alignment.
Connect beams and rafters.
Tighten screws and bolts.
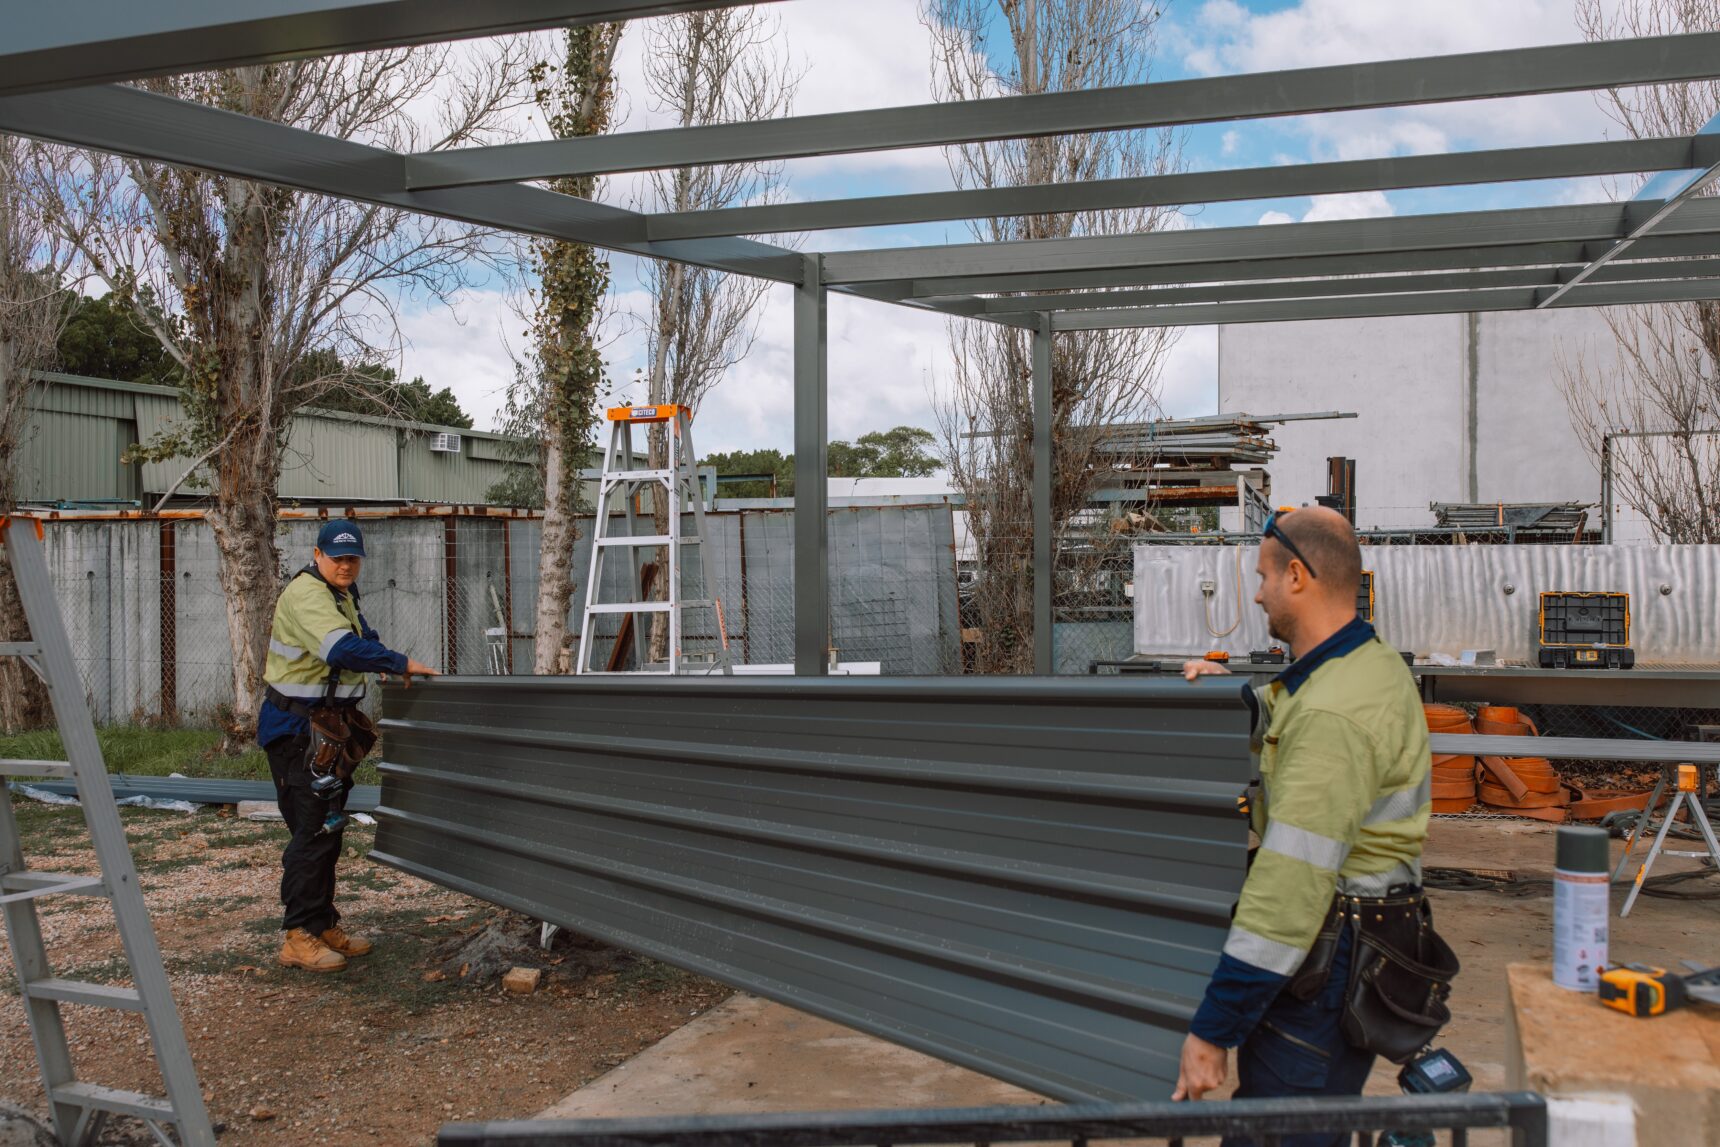
Fix Colorbond® or insulated panels.
Ensure correct overlap to avoid leaks.
Add flashing, gutters, and downpipes.
Install downlights or fans (insulated kits).
👉 Teamwork Tip: Always build with a mate — it’s safer and faster.
Once your patio is complete:
Inspect fasteners after storms.
Wash roofing panels every 3–6 months.
Keep gutters clear.
With proper care, DIY patios Perth can last 20+ years.
✅ Save money on labour
✅ Build at your own pace
✅ Personal satisfaction
✅ Faster turnaround
✅ Council approvals managed
✅ Warranty on workmanship
👉 Hybrid option: Build it yourself but hire professionals for specific steps like concreting or approvals.
Pre-Cut Kits: Engineered and ready to assemble.
Australian Made: BlueScope® steel + Colorbond® roofing.
Council-Ready: Kits include certified drawings.
Flexible Roof Styles: Gable, skillion, dome, and flat.
Local Expertise: Perth-based team, here to support you.
DIY patios are significantly cheaper than professional installation. Pricing depends on size, roof style, and materials.
Yes, in most cases. Patio Factory kits include drawings to make the process easier.
Most patios can be built in a few weekends.
Yes — Patio Factory provides warranties on materials and engineering.
Yes — especially with insulated DIY patio kits.
Building your own patio doesn’t have to be complicated. With DIY patios Perth, you can create a stylish, functional backyard space at a fraction of the cost of professional installation.
By following these 5 steps — planning, approvals, gathering tools, installation, and maintenance — you’ll transform your outdoor area into a true backyard oasis.
At Patio Factory, our DIY patio kits are made for Perth conditions and backed by expert support.
👉 Ready to get started? Contact Patio Factory today and let’s bring your DIY patio project to life.
Check out out social Media

